
I’ve wanted a book trailer for a while. I know the debate—should you or shouldn’t you?—but I tossed all that aside and did it because I wanted to. I just needed to wait until I had reviews in from Publishers Weekly / BookLife, Kirkus Review, and some Amazon reviews to back it up.
The reviews came in—and thankfully, they were solid. So I leapt in.
Building the Foundation
While waiting for the reviews, I worked on my Art of Durajan series, illustrating twelve characters from the novel using Procreate on the iPad. (Aiyana, Alder and Anne, thank you again for the push) The twelve illustrations took about a month and I decided to use them to lay the groundwork for the visual tone of the trailer.
But I still needed the video editing software and began considering Adobe After Effects. But then...

Enter CapCut
I did my research, asked around, and eventually landed on CapCut—a surprisingly powerful and affordable alternative to Adobe After Effects (sorry, Adobe). I’d already used it to create the Art of Durajan videos for my fledgling YouTube channel, so I was comfortable enough to dive in.
CapCut is intuitive, lightweight, and has a clean UI with impressive depth.

The Process
I’m not saying my workflow is the definitive method—but it worked for me. I wanted:
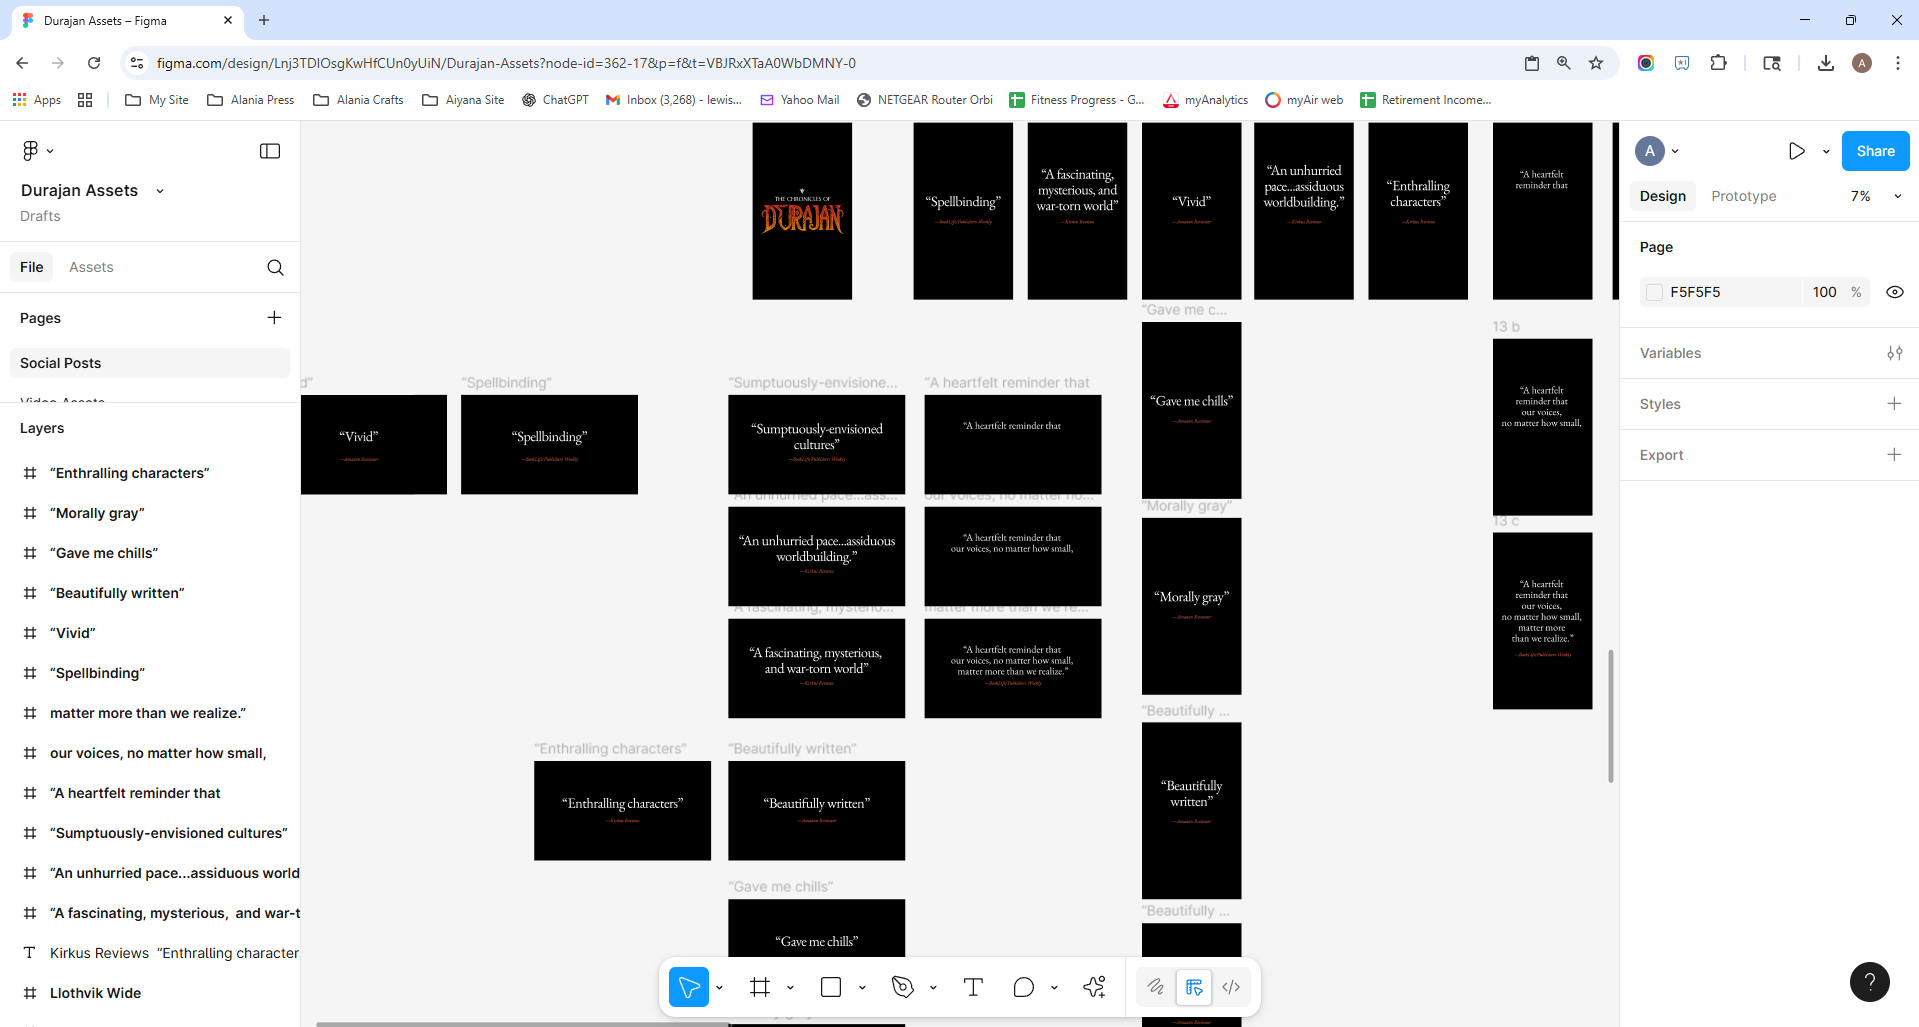
I had all my illustrations exported from Procreate as JPEGs, then created layouts Figma—my go-to for almost everything.
Since I already had a consistent visual aesthetic across instagram, facebook and youtube, I stuck with white-on-black text and short, bold quotes. I pulled select lines from my reviews, keeping them simple and compliant with Kirkus and Publishers Weekly guidelines.
I could’ve edited the text directly in CapCut, but I wanted the precision and control Figma offers—especially for letter spacing and line height (yes, I still sometimes call them kerning and leading from my print-production days).
Once everything was exported—two sets, one 9:16 and one 16:9—I dragged and dropped the assets into CapCut and started assembling on the timeline tracks
Finding the Beat
I wanted the trailer to stay under 90 seconds. I found a great soundtrack, but starting straight with music felt flat. So, I added ambient wind and thunder effects to create a sense of tension, tweaking the fade in and fade out on them to help smooth transitions.
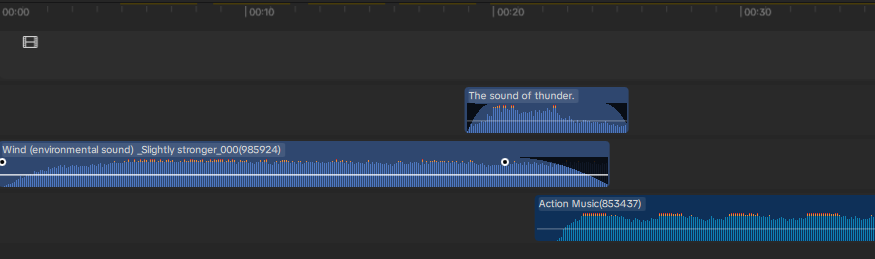
From there, it became all about sync.
I zoomed in to the frame level, fine-tuned motion to sound, and learned the hard way that what you hear in-app can differ slightly from what exports. That meant a lot of trial and error—adjusting frames, exporting, rechecking, and repeating.

Eventually, I figured out a trick:
If one clip is perfectly timed to the beat, duplicate it and use it as a reference marker for rhythm—like a visual metronome. From there, I could match every other element (¼ beat, ½ beat, 1/16th beat, etc.) precisely to that timing. Game-changer.
Enter SORA
Things were coming together, but I wondered what it would look like if my illustrations actually moved. That’s where Sora came in.
I know opinions on AI vary, but these were my illustrations. The result of over a month of work. I saw no ethical issue in using AI to bring them to life. Using Sora’s storyboard feature, I prompted gentle camera movements and subtle character animation—turns, blinks, even soft motion in fabric and hair.
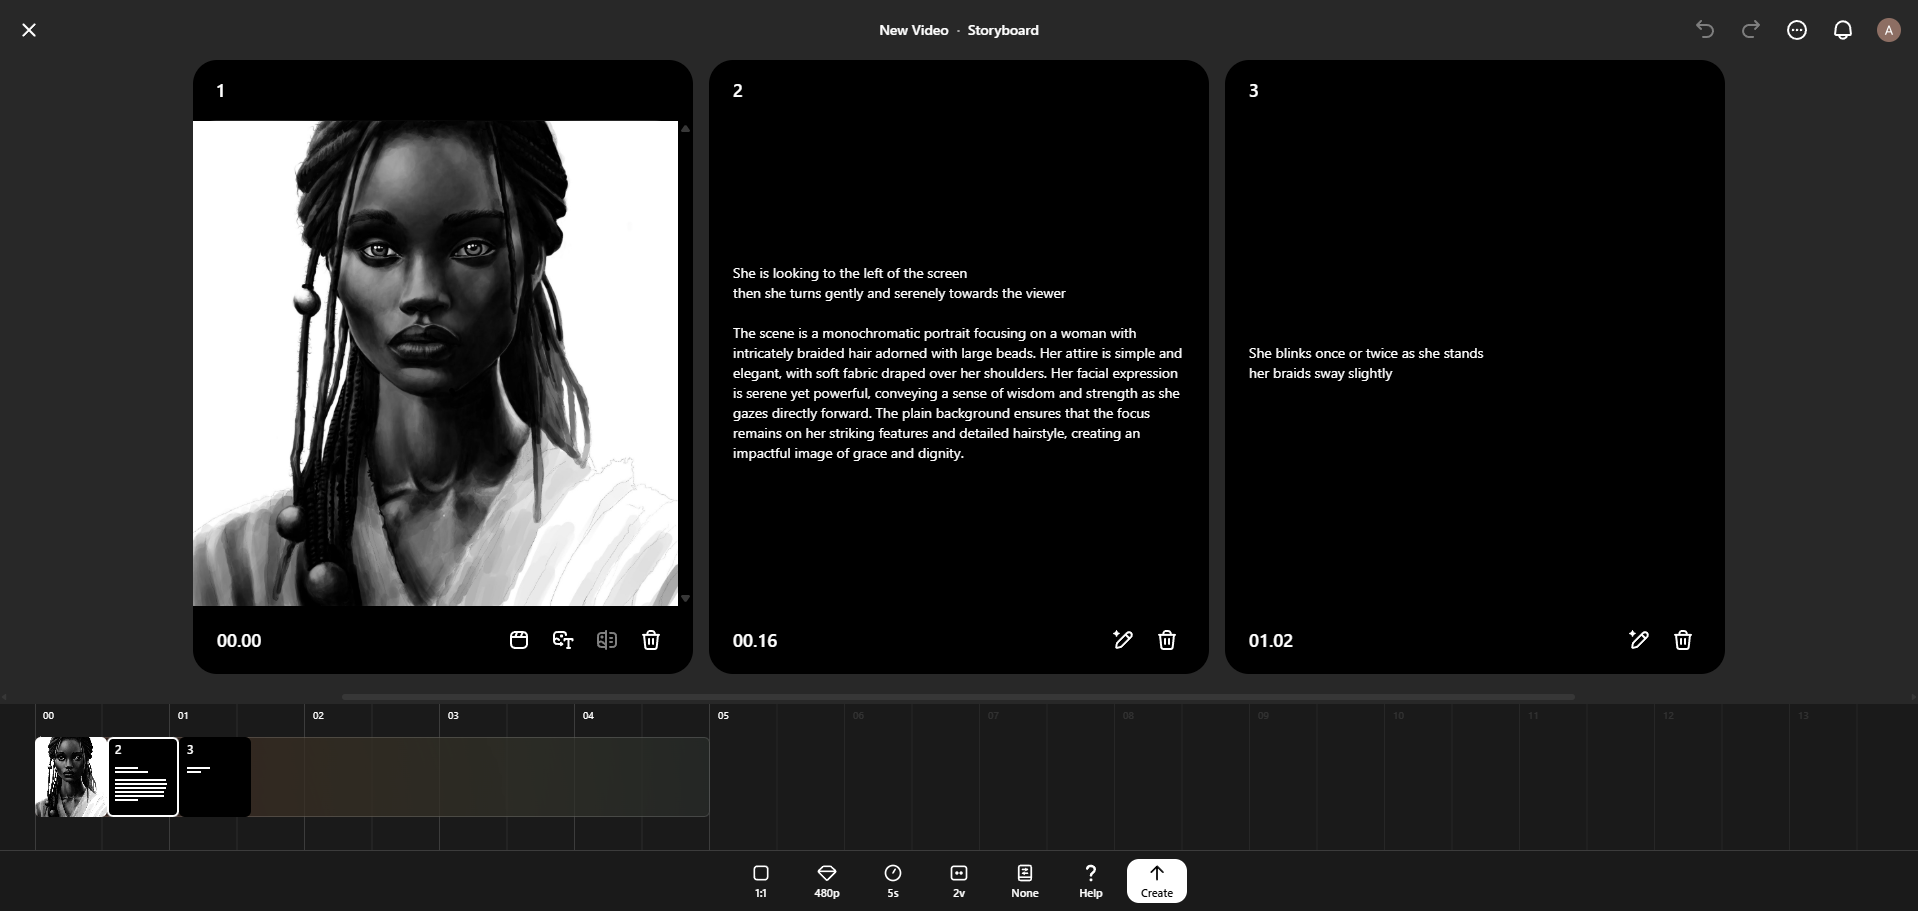
I hit Create and waited.
Seeing my static digital paintings come alive was surreal. The lighting, depth, and contrast—all moving as if filmed—gave each piece new emotional dimension.
Layering and Animation
Each lower-third (the black gradient area with names and titles) was also created in Figma and exported as transparent PNGs before being added into CapCut.
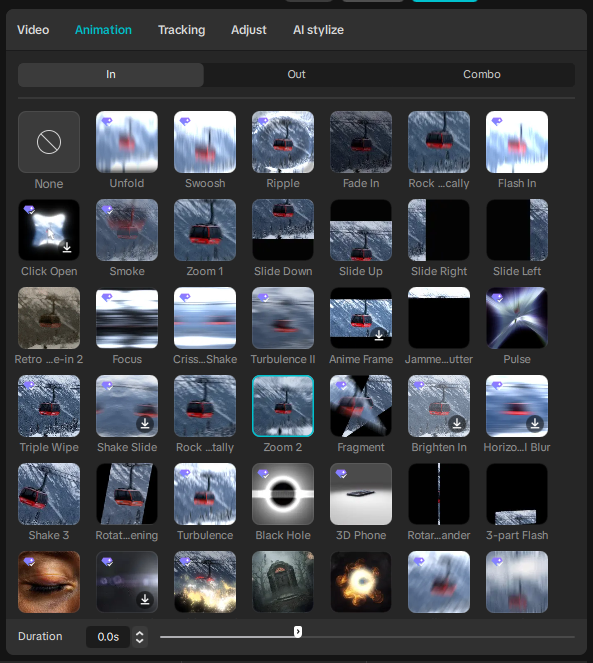
Then came animation passes. CapCut offers dozens of in/out effects—everything from cinematic fades to chaos-driven transitions. I tested most of them (probably too many) before narrowing it down to a small, consistent set that matched the energy and tone I wanted: dynamic, but restrained.
Tip: You can copy and paste effects from one clip to another—something I learned at the very end, of course. Huge time saver.
The Finale and Keyframes
The end sequence was the only part where I used keyframes—to position, pan, and zoom assets precisely over time. Once I understood how keyframes locked position and transition, the final movement sequence came together beautifully.

Final Thoughts
What started as an experiment became something that reignited my love of video production. The final result is something I’m proud of—not just because it showcases The Chronicles of Durajan, but because it represents everything I enjoy about creative storytelling: motion, rhythm, and design working together.
I’ll definitely continue my Art of Durajan video series and have some big ideas for the Book 2: Empires of Durajan launch—dynamic illustrations, layered motion, and even combat scenes. But first, I need to finish writing it.
If you’re considering making a book trailer and want to take the DIY route, CapCut is a solid option.
And if you’d rather have someone do it for you—maybe we can chat.
The end result.


